The B2B Link for Baking Supplies
Worldwide Shippingsales@bakewarelink.com

Custom bakeware • OEM supply

Custom bakeware manufacturing.
Defined by your specification.

Develop pans, molds and liners around the product you bake, the equipment you use and the range you sell.

BakewareLink coordinates custom bakeware development and supply: product definition, manufacturing-route review, sample validation and an approved bulk-order configuration.

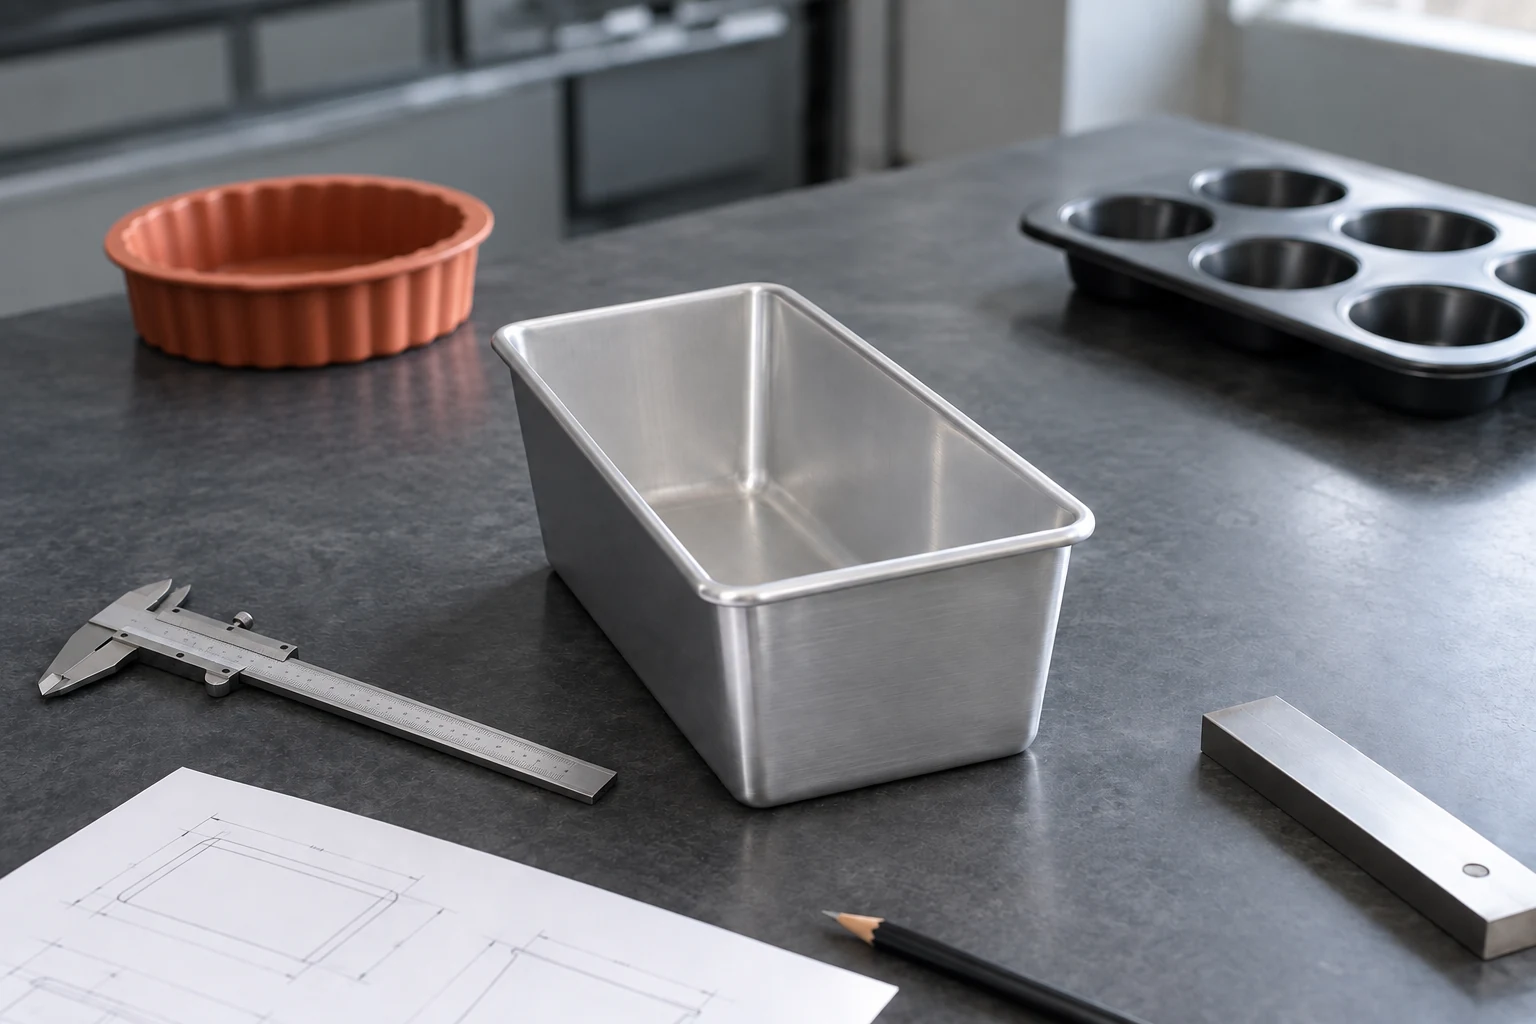
Aluminum loaf-pan sample, silicone mold and muffin pan arranged with a caliper, straightedge and drawing for specification review
Illustrative bakeware sample and specification review.

Start with the required change

Three routes from a buying brief to a custom product.

“Custom” can mean a branded existing format, a modified product or a new shape with tool work. Define the change first. The development route determines what needs a drawing, a sample, new tooling or a separate approval.

For a brand program that keeps the product geometry, connect this work with private-label bakeware planning.

Existing format

Keep the geometry. Define the presentation.

Start with a selected pan, mold or liner format and review the marking, color and packaging changes required for your range.

Decision to settle

Confirm the exact base product, selected finish and complete selling pack. An approved logo proof does not approve product performance.

Modified specification

Change the feature that the application needs.

Review a different dimension, depth, cavity layout, corner profile or construction against the intended baking and handling process.

Decision to settle

Identify the changed dimensions and interfaces. Confirm whether existing tools can support them and which checks need a new sample.

New product development

Release a drawing before committing to tooling.

Use a product brief, drawing or reference sample to define a new shape and its manufacturing route, then establish the sampling and tooling scope.

Decision to settle

Separate development, tool work, production-intent samples and bulk supply. Fix the approval stages and one-time charges in the offer.

Material, geometry and surface

Select the construction before comparing the finish.

A pan’s base metal, wall structure and surface system are separate specifications. “Nonstick” describes a surface requirement; it does not identify the metal grade, thickness, rim or corner construction.

For silicone, record the compound and mold construction alongside the cavity geometry. For a reinforced liner, distinguish the silicone coating and support construction from an unreinforced mold. Approval belongs to the complete selected product.

Product families and the decisions that shape development
Product familyDefine the constructionValidate in the application
Metal pans & traysMaterial grade and thickness, forming or fabricated construction, corners, rim, perforations and selected surface finish.Equipment fit, handling rigidity, bake result, release and the intended cleaning routine.
Silicone moldsOverall size, cavity shape and count, wall thickness, selected compound, color, mold finish and support requirements.Loaded handling, cavity consistency, baked-product shape, release and cleaning.
Baking mats & linersUsable footprint, corner profile, solid or mesh construction, thickness, edge finish and any printed layout.Tray fit, liner handling and the effect of the chosen liner on the baking process.

Metal pans: identify the material and forming route.

Aluminum, steel and aluminized steel are distinct material specifications. State the proposed grade and thickness in millimeters; keep any gauge reference tied to its material convention.

Review formed or fabricated construction, corner treatment, rim profile and reinforcement where relevant. A change to a corner or wall angle can affect nesting, working area and the tool route even when the outside size stays similar.

Silicone molds: specify the shape under working conditions.

Define the overall footprint, cavity opening, usable depth, wall thickness and support needed when filled. State whether a quoted capacity is brim-fill volume or the recommended working fill.

Measure flexible parts at rest using the agreed method. Validate the loaded mold and its supporting tray in the intended workflow rather than stretching a sample to match the drawing.

Finish approval is its own step. Record the chosen surface system, appearance reference, marking method and care instructions. Temperature, cleaning compatibility and any performance claim must match the selected product and its approved use. No universal rating is inferred from a category name.

Release a measurable specification

The outside size is only one part of the drawing.

Separate overall dimensions, internal opening, usable base and depth. Identify the reference surfaces used for measurement. Add corner radii, wall angle, rim profile and cavity positions where they control fit or baked-product shape.

Mark the dimensions that interface with racks, ovens, conveyors, lids, liners or packaging. Agree tolerances for those features and a measurement condition: empty, loaded, room temperature or after a defined trial.

Four distinct dimensions on a bakeware cross-sectionA measures the outside rim span, B the internal opening, C the usable base, and D the internal depth. The schematic is not to scale.A / Overall spanB / OpeningC / Usable baseD / Depth
Schematic section, not to scale. Length and width need their own specified references.

A / Overall span

Outside length and width, including the rim or handles.

Oven, rack, conveyor, carrier and packaging interfaces.

B / Internal opening

Inside length and width at the stated top reference.

Loading, liner insertion and the top profile of a molded product.

C / Usable base

The flat or defined working base, including its corner profile.

Liner footprint, baked-product base and actual support area.

D / Internal depth

Depth from the stated internal reference to the defined base.

Product height, cavity volume and pack clearance.

Define geometry that a sample can be checked against.

For perforated trays, specify hole size, pitch, pattern and the unperforated border. For cavity pans or molds, specify cavity count, position, shape and the agreed capacity definition. Include the required nesting orientation and separation where stacking matters.

Keep drawing revisions separate from reference images.

A photograph communicates appearance; the released drawing controls dimensions. Identify units, revision, critical features and approved changes. A physical reference sample should have its own identification and measured record.

Validate before bulk release

A useful sample answers a defined production question.

Agree whether the sample is an existing reference, a geometry prototype or a production-intent sample. Record the differences from the intended material, forming process, finish and packing. A geometry mockup can answer a fit question without proving the final bake result or coating performance.

Approve the sample against written checks. Separate appearance, dimensions, functional performance and packaging so an open issue is not hidden inside a general sign-off.

Build a repeatable bakery trial

Keep the test conditions alongside the result.

Record the recipe or product, fill mass, liner or release agent, oven program, rack position, loading pattern, cooling method and cleaning routine. Compare a proposed sample with the current reference under the same agreed conditions.

Assess the product shape, browning, release, usable yield and handling. Check the pan or mold again after cooling using the defined measurement method. Log distortion, finish changes or handling problems against the sample revision.

  1. Before the trialCheck the sample identity, dimensions, finish and intended equipment fit.
  2. During useRecord the actual loading and process conditions, together with the bake and release observations.
  3. After the trialReview cooled geometry, finish, cleaning and the acceptance result; list any required revision.

Test the combination that will be used. A pan, liner and release method form one working setup. A solid liner on a perforated tray changes the open baking surface. Evaluate the intended combination rather than approving the components in isolation.

Settle tooling and development scope in writing.

Identify the tool work required by the selected route, development charges, sample iterations and the approval that releases bulk production. Agree tool identification, permitted use, maintenance, storage and the terms for access or replacement where tooling is part of the project.

Keep one-time tooling or setup cost separate from the recurring product and pack price. A proposed drawing, a prototype and an accepted production-intent sample are different milestones.

Production acceptance and repeat supply

Inspect the delivered configuration against the approval.

Before an order is released, align the purchase record, drawing, material, finish, sample reference and packing instruction. Agree the inspection method, sample selection, defect definitions and acceptance limits for the product.

Product-level documents must identify the relevant material, surface or print and intended use. State the required destination and documentation in the brief so they can be reviewed with the actual configuration.

01

Geometry & interfaces

Check critical dimensions from the drawing, tray or rack fit, corner shape, cavity position and the stated flatness method.

02

Material & construction

Check the selected material record, thickness requirement, edge and rim construction, joints and reinforcement where specified.

03

Surface & marking

Check the approved finish, visible defects, marking position and legibility against the agreed sample and artwork.

04

Function & use

Run the agreed baking, release, handling and care checks. Record the conditions, sample selection and acceptance result.

05

Complete pack

Check set contents, separation, protection, label and retail-pack configuration, then confirm master-carton count and identification.

06

Revision & release

Match the drawing, sample approval, material, finish, artwork and packing instruction to the order being released.

Protect the finish and the approved geometry.

Specify nesting count, separators, edge protection and carton layout. Check the complete packed sample for contact marks, unsupported areas and component movement. A retail pack and a bulk carton can need different protection even when the product is identical.

Review changes before the next order.

Record substitutions or changes to material, thickness, corner, cavity layout, coating, pigment, tooling and pack. Identify whether the change needs a new sample, updated documents or a revised acceptance check. Retain inspection results and delivered-lot references with the SKU.

From brief to approved supply

A clear decision at each development stage.

Start with the information you have. Keep fixed requirements and open questions visible, then release the product in defined stages.

  1. 01

    Define the application

    Start with the baked product, equipment, handling method and channel. Attach the current reference and the changes you need.

  2. 02

    Review the production route

    Resolve geometry, material, construction and finish. Identify tooling work, unresolved dimensions and the proposed sample route.

  3. 03

    Validate the sample

    Check the drawing and interfaces, then run the intended baking and care trial. Approve the complete product and pack configuration.

  4. 04

    Release & retain the record

    Confirm quantities, acceptance checks and delivery scope. Keep the approved revisions and delivered-lot record for repeat supply.

Confirm the commercial configuration with the specification.

Request MOQ by SKU, size, finish, color and pack; sample and tooling charges; itemized product and packing prices; payment stages; offer validity; production-start conditions; and delivery scope to a named destination. Use the target arrival window for planning, with approval and shipment dependencies identified.

Use the complete RFQ checklist & downloadable template →

Custom bakeware FAQ

Drawing, tooling and manufacturing questions.

Start with the intended product and required change. The specification establishes the sample, production and approval route.

How do I choose a custom bakeware manufacturer or supply partner?

Compare the proposed product construction, controlled drawing, sample route and measurable acceptance checks. Ask how geometry, material, finish, tooling and revisions are kept together. BakewareLink coordinates custom development and supply around that specification; the selected production route, responsibilities and commercial terms are established in the project offer.

Which bakeware can be reviewed for a custom project?

Projects can begin with metal pans and trays, silicone molds or reusable baking mats and liners. Define the intended use, dimensions, quantity and required changes. Material, construction, finish, tooling and pack options are evaluated for the selected product rather than assumed to apply to every format.

Do I need a finished drawing before making an inquiry?

No. An existing product reference, measured sample or application brief is a useful starting point. Identify which dimensions and features are fixed and which need a proposal. A controlled drawing and written specification are required before the geometry and tooling scope are released for production.

Does a custom pan size always require a new tool?

No. The answer depends on the shape, construction and the tools suitable for the selected production route. A modified size may use an adaptable construction, while a new formed shape or cavity layout may need dedicated tooling. Confirm the tool scope, cost and production-intent sample before approving that route.

Can a logo, color or nonstick finish be specified?

These requirements can be reviewed for the selected material and product. Define the marking location, selected color reference, surface system and intended use. Approve the suitable method and sample rather than treating every logo, pigment or coating as interchangeable. Brand appearance and functional performance need their respective checks.

What are the MOQ and lead time for custom bakeware?

MOQ and timing are confirmed by product, size, material, finish, color and pack configuration. Tool work, product sampling, artwork and bulk production have separate dependencies. Provide quantities per SKU and a required arrival window so the offer can show the applicable minimums, approval stages and schedule.

What should a pre-production sample prove?

It should represent the intended material, construction, geometry and finish closely enough for the agreed checks. Record any difference from the bulk specification. Check equipment fit, baking result, product release, handling, cleaning and the complete pack where relevant. A visual mockup alone cannot establish production performance.

How is consistency managed on repeat orders?

Keep the approved drawing, product specification, sample reference, finish, artwork and packing revision with the SKU. Record inspection results and delivered-lot references. Review proposed changes to material, geometry, coating, tooling or packaging before use, and define which changes require a new sample or updated documents.
Begin a specification review

Tell us what the bakeware must do.

Share a product reference, drawing or measured sample, together with the application and the changes required. Include these details in your message:

  • Baked product, equipment and handling method
  • Outside dimensions, internal geometry and critical fit
  • Material, construction and finish requirements
  • Quantity per SKU and expected repeat-order needs
  • Logo, color, retail pack or bulk packing
  • Destination, target timing, sample and document needs

Identify fixed requirements and details needing a proposal. If a drawing is available, mention its revision in the message so the reference can be followed up.

Discuss your custom bakeware project